
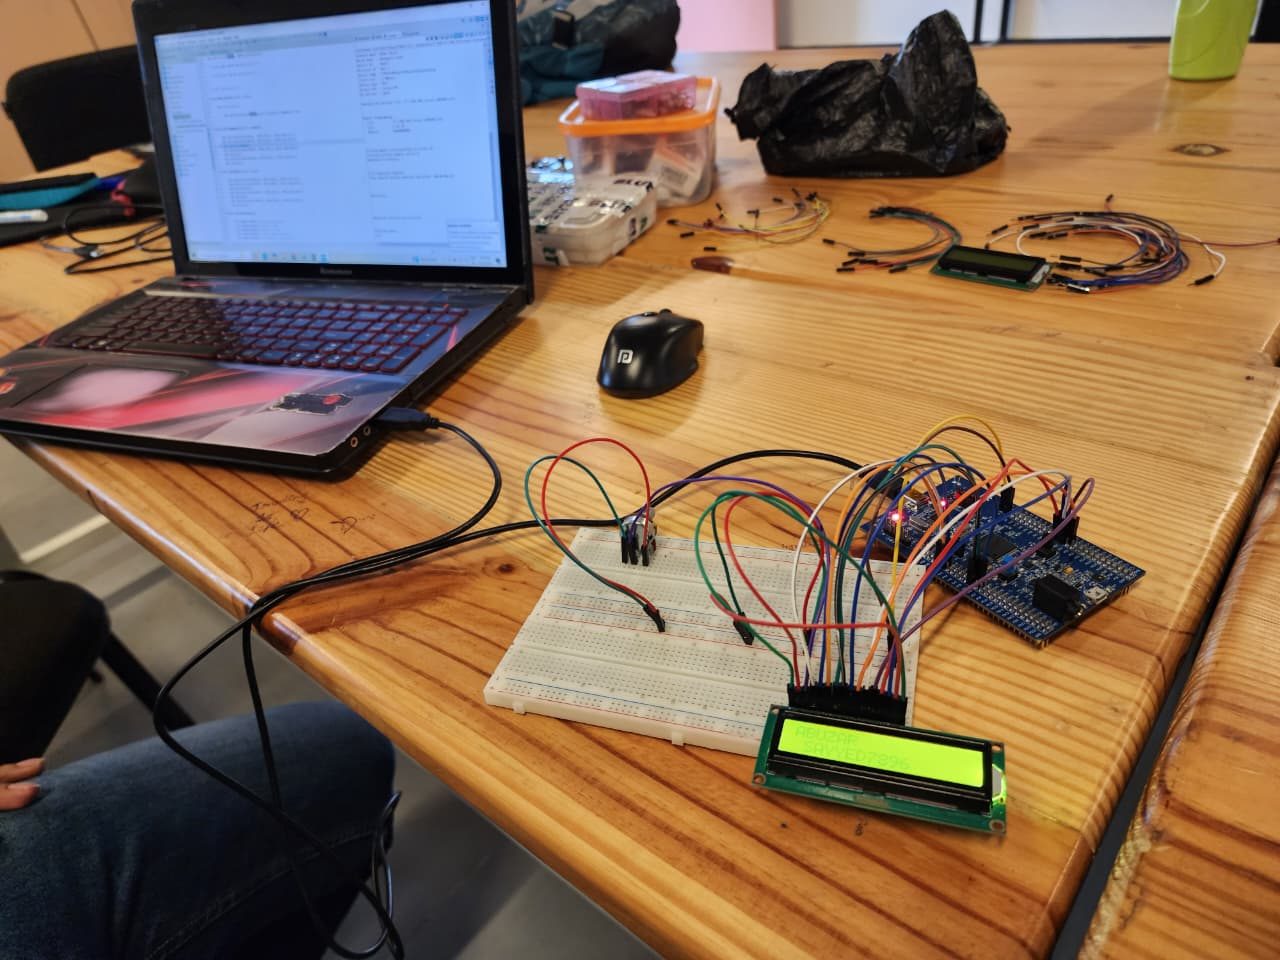
Why this happens
BMS boards in EVs measure and report battery data, and many share it over Bluetooth through the manufacturer's app. Building your own monitor for safe, low-voltage batteries teaches the same ideas: accurate sensing, sampling, and publishing data as BLE characteristics. It stays on the outside: the main traction pack is read only through the vehicle's own app.
What you need
Tools
- Soldering iron and solder
- Digital multimeter
- Laptop with the Arduino IDE
- Smartphone with a generic BLE scanner app
- Bench power supply with current limit
Materials
- ESP32 development board
- Current and voltage sensor module rated for the voltage you measure (for example an INA219 or INA226 type)
- Waterproof digital temperature probe
- Inline fuse holder and fuse
- Single-cell holder with a new loose cell, or access to a 12 V auxiliary battery's terminals
- Small project box, wire, heat-shrink and crimp terminals
- Fire-safe mat
Before you start
- Do not connect this monitor to an EV traction battery, its charge port or balance leads; use the vehicle's own app for that.
- Always fuse leads at the battery terminal and check the sensor module is rated above the battery voltage.
- Keep the dashboard read-only; do not build features that switch charging or bypass any battery protection.
- Charge batteries only with their proper chargers; the monitor is not a charger or a protection device.
Step by step
- 1
Choose a safe battery to monitor
Pick either a single loose cell in a holder on a bench, or a 12 V auxiliary battery such as one powering a workshop light. Do not connect the monitor to an EV's traction battery, charge port or balance leads. If your EV's BMS has Bluetooth, use the manufacturer's app for that. Check the sensor module's voltage rating is well above the battery voltage.
- 2
Build and test the sensing on a bench supply
Wire the sensor module to the ESP32's I2C pins and connect its current shunt in series with a test load, powered by a bench supply with current limit. Wire the temperature probe with its pull-up resistor. Read voltage, current and temperature in a sketch, print them over serial and compare with your multimeter. Correct any offset before going further.
Tip: Proving the sensors on a current-limited supply first means wiring mistakes cannot damage a battery.
- 3
Add a fuse at the battery
Every lead you connect to a battery needs a fuse as close to the battery terminal as possible, sized for the sensing wire and expected load. For a single cell, a small fuse in the holder's positive lead is enough. For a 12 V battery, use an inline fuse holder on a proper ring terminal. Disconnect loads before connecting the monitor.
- 4
Create a BLE service
In the sketch, use the ESP32 BLE library to create a service with characteristics for voltage, current, temperature and a running amp-hour count. Set them to notify, so the phone receives updates without polling. Give the device a clear name. Update the values once or twice a second. Do not add any characteristic that can switch loads or charging.
- 5
Check data with a BLE scanner
Open a generic BLE scanner app on your phone, find the device, connect and subscribe to each characteristic. You should see values change as you vary the bench load. Decide on a simple format, such as values multiplied by 100 as integers or short text strings, and document it so your dashboard can read it.
- 6
Build a phone dashboard
Use a no-code BLE dashboard app, or write a small web page that uses the browser's Bluetooth support, to show voltage, current, temperature and amp-hours as large numbers with a simple chart. Add colour bands for normal and warning ranges from the battery's datasheet. Keep it read-only: the dashboard displays data and raises alerts only.
- 7
Box it and connect to the battery
Put the ESP32 and sensor in a project box with strain relief on all wires and heat-shrink on joints. Power the ESP32 from its own USB supply or power bank. With loads off, connect the fused leads to the battery, positive last. Fit the temperature probe to the outside of the battery case. Check readings against the multimeter once more.
- 8
Log, watch trends and maintain
Use the dashboard to watch the battery during use and charging with its proper charger. Export or note readings over weeks to see trends, such as falling resting voltage or rising temperature. Inspect the fuse, wiring and terminals monthly for heat or corrosion. Disconnect the monitor when the battery is stored, because it draws a small current.
How to tell it worked
Your phone shows live voltage, current and temperature that agree with a multimeter, updates smoothly over Bluetooth, and logs trends for a bench cell or 12 V auxiliary battery.
Stop and call a technician if
- The battery or cell gets hot, swells, leaks or smells: disconnect only if safe, move away and call 112 if it smokes.
- Wiring, the fuse holder or the sensor module gets warm during normal use.
- Readings show voltage outside the battery's safe range that does not recover; have the battery checked and replaced if needed.
Questions
Can I use this on my electric scooter's battery?
No. Connecting to the traction battery means bypassing protections or opening the pack. Use the scooter's own app or display, and the service centre for detailed battery checks.
Why do my current readings drift at zero load?
Small offsets in the sensor and shunt show up at low currents. Measure with no load, store that offset and subtract it in the sketch.